Candle Making Kits: The Ultimate Guide

Candle making is a popular pastime for people all over the country. It’s fun, creative and worthwhile, and it allows you to experiment with different kinds of fragrances, many of which you can't get from mainstream brands.
Getting to grips with candle making kits, however, can seem like an uphill struggle. There are so many options out there, each of which seemingly offers something different or new.
In this guide, you’re going to learn all about the art and science of making candles at home. What’s more, we put everything into plain English, making it easy to understand. By ending confusion, we show you just how easy and enjoyable it can be to make candles at home. Read on to learn more.
How do you make candles at home? With a candle making kit!
Making candles at home is simple and intuitive. But first, you need the right equipment. Fortunately, candle making kits provide the vast bulk of this in a neat package, so you only require a few extras (most of which you'll already have at home).

What do I need to make homemade candles?
First, you’ll need candle making equipment. You’ll want a candle making kit containing:
- A bag of natural soy wax
- Pre-waxed wicks with metal bases
- Two candle tins
- Labels for the candle tins
- Wooden sticks for aligning the wick and popping air bubbles
- Concentrated fragrance
You will also need the following items from around your home:
- Scissors
- Wooden spoon
- A heat-resistant jug (at least 500 ml capacity)
- A double pan or Bain Marie (like what you might use for melting chocolate)
- A protective apron, just in case of spillage
- Kitchen towel
Step 1: Simmer Some Water In Your Bain-Marie
The first step is to simmer water in your bain-marie (or double pan) to create gentle heat to melt the wax. Be sure to avoid allowing any water into the top container, since wax does not mix with water.
Step 2: Add The Candle Making Wax To The Bain-Marie
Add all the soy wax in the kit to the pan and allow it to melt slowly and gently.

Step 3: Place The Tins 6-9 Inches Apart
Take the tins out of the kit and put them on a heat-resistant surface, 6-9 inches apart.
Step 4: Straighten The Candle Wicks
Next, grab the wicks and their stands and straighten them, so that they’re at a right angle to the base. They should be upright and able to support their weight.
Step 5: Pour The Molten Candle Wax Into The Jug
Take the bain-marie off the heat and carefully pour the melted wax into the 500ml jug. Be careful to ensure that no condensation on the bottom of the pan drips into the jug.
Step 6: Add The Candle Fragrance Bottle To The Wax
Next, add the full contents of the fragrance bottle to the wax while stirring continually for around a minute to ensure it diffuses evenly.
Step 7: Pour The Mixture Into The Tins
Next, pour the mixture into the tins, filling it to the level of the indentation. Avoid overfilling and leave any excess wax to cool in the jug.

Step 8: Pop Surface Bubble With A Wooden Stick
You may see some air bubbles forming after you pour the wax. Carefully pop them with a wooden stick provided in the candle making kit. (Please note if you use the end of a wooden spoon, it will retain the fragrance, making it unsuitable for cooking applications.)
Step 9: Wait For The Candle Wax To Cool Slightly
Once the wax is out of the pan and into the tins, it will start to cool rapidly. Keep a close eye on it. The moment it starts to turn cloudy, it is time to insert the wicks.
Step 10: Slide The Wicks From Your Candle Making Kit Into The Wax
Put the wicks into the tins, placing their bases in the centre of each. Do this gently and slowly to avoid bending them.
Step 11: Support The Wick With Two Wooden Sticks
The wicks may not support themselves in the cooling wax. Use two wooden sticks placed crosswise over the tin to hold them in place and stop them from falling over.

Step 12: Check For Air Bubbles
Check for air bubbles for a second time, popping any you find with another wooden stick.
Step 13: Adjust The Candle Wicks A Final Time
Check again to make sure that the bases of the wicks are still in the centre of the tins. Only move them if doing so doesn’t disturb the setting wax. Sometimes, moving the wicks can cause ripples.
Step 14: Leave The Candles To Cool
Leave the candles to cool for at least a couple of hours or, ideally, overnight.
Step 15: Trim The Wick
Use the scissors to trim the wick, so it sits about ¼ inch above the surface of the wax.
...and you’re done!
The maximum recommended burning time for candles is 3-4 hours per burn. If candles burn longer than this, they may smoke.
Use a candle kit make your own candles
There are all kinds of reasons why you might want to make candles at home using a candle making kit.
- It saves money. Buying candles new can be expensive. Plus, you never get what you want. You have to accept the fragrance of the manufacturer. With a candle making kit, however, you simply buy the raw ingredients and then create candles individually, avoiding the markup on pre-made candles.
- You can indulge your creative passions. Candle making is so much more than a merely functional task. It’s also an opportunity for you to exercise your creative flair. Candle-making kits allow you to produce beautiful candles that customise scent, colour, size and shape. It’s such a rewarding experience.
- It is a relaxing hobby. Candle making is also a relaxing hobby that helps focus the mind. You can spend long periods in creative bliss - the perfect activity to unwind at the end of a busy day.
- It is also something that you can do with children, teaching them important life skills in the process. Making candles with your kids is fun, and they could take the candles as a party piece for a friend. You can buy [special candle making kits for kids] too.

Is candle making easy?
The candle making process is straightforward if you use a candle making kit. Everything you need is right there, ready and waiting to go.
The most complicated part of the process is ensuring that you correctly place the wick. Try, if possible, to set it centrally in the provided tin while gently applying pressure to avoid bending. Also, be sure to prevent any water from mixing with the wax. Water and wax do not blend. Combining them could compromise the integrity of the finished candle.
Is it cheaper to make your own candles?
It depends. If you only make one or two candles with your candle making kit, the cost per unit will be higher than going to the store. If, however, you stock up on soy wax, wicks and scents, you can dramatically reduce the price you pay by creating them yourself.
Buying speciality candles new can get expensive. But once you have all the ingredients and a well-stocked supply of the essentials, you can often produce them more cheaply.
What is the best candle making kit?
You can get candle making kits for kids, candle making kits for adults, candle making kits for beginners and candle making supplies for different events throughout the year, including Christmas and birthdays.
All homemade candle making kits from us are £15.99 and come with the equipment you need to make the perfect candles.
The fragrances are of the highest quality and are all-natural. Unlike cheap, synthetic fragrances, they do not emit a cloying aroma. Instead, they fill your home with beautiful scents, as you would find them in their natural form.
Furthermore, you get the precise amount of perfume you need for the wax, ensuring optimal concentration. Too much fragrance and you can disrupt the structure of the wax. Too little, and you won’t get the fragrant aroma you desire!

How to choose the best candle making kit
Choosing the best candle making kits is a relatively straightforward process. First, look for products that don’t require you to buy any additional equipment, besides the package itself. All other items should be things you already have in your home, like wooden spoons and scissors.
Second, look for candle making kits that allow you to reuse various critical components, like the tins that contain the wax, saving you money. You should be able to buy new wax and wicks and start the entire process all over again.
Third, look for kits that offer you plenty of customisation options. You want to choose from various scents and design your own labels.
The basics – What you should expect in your candle making kit
You should expect the following from any candle making kit you buy:
- A packet of soy wax for making the candle
- Tins for containing the candles as the wax sets
- Pre-waxed wicks you can easily insert into cooling wax
- Wooden sticks for popping wax bubbles and supporting the wicks as the wax sets
- Labels for your candle tins so that you can identify them later
- Concentrate fragrances to make your candles smell divine
Besides these items, you will need the everyday household items we describe above, like a bain-marie, scissors, and a wooden spoon.
You’re in control of what goes into your candle
The great thing about soy candle making kits in the UK is they put you in control of what goes into your candle. You can choose the ideal scent for your home, instead of putting up with the fragrances included by manufacturers.
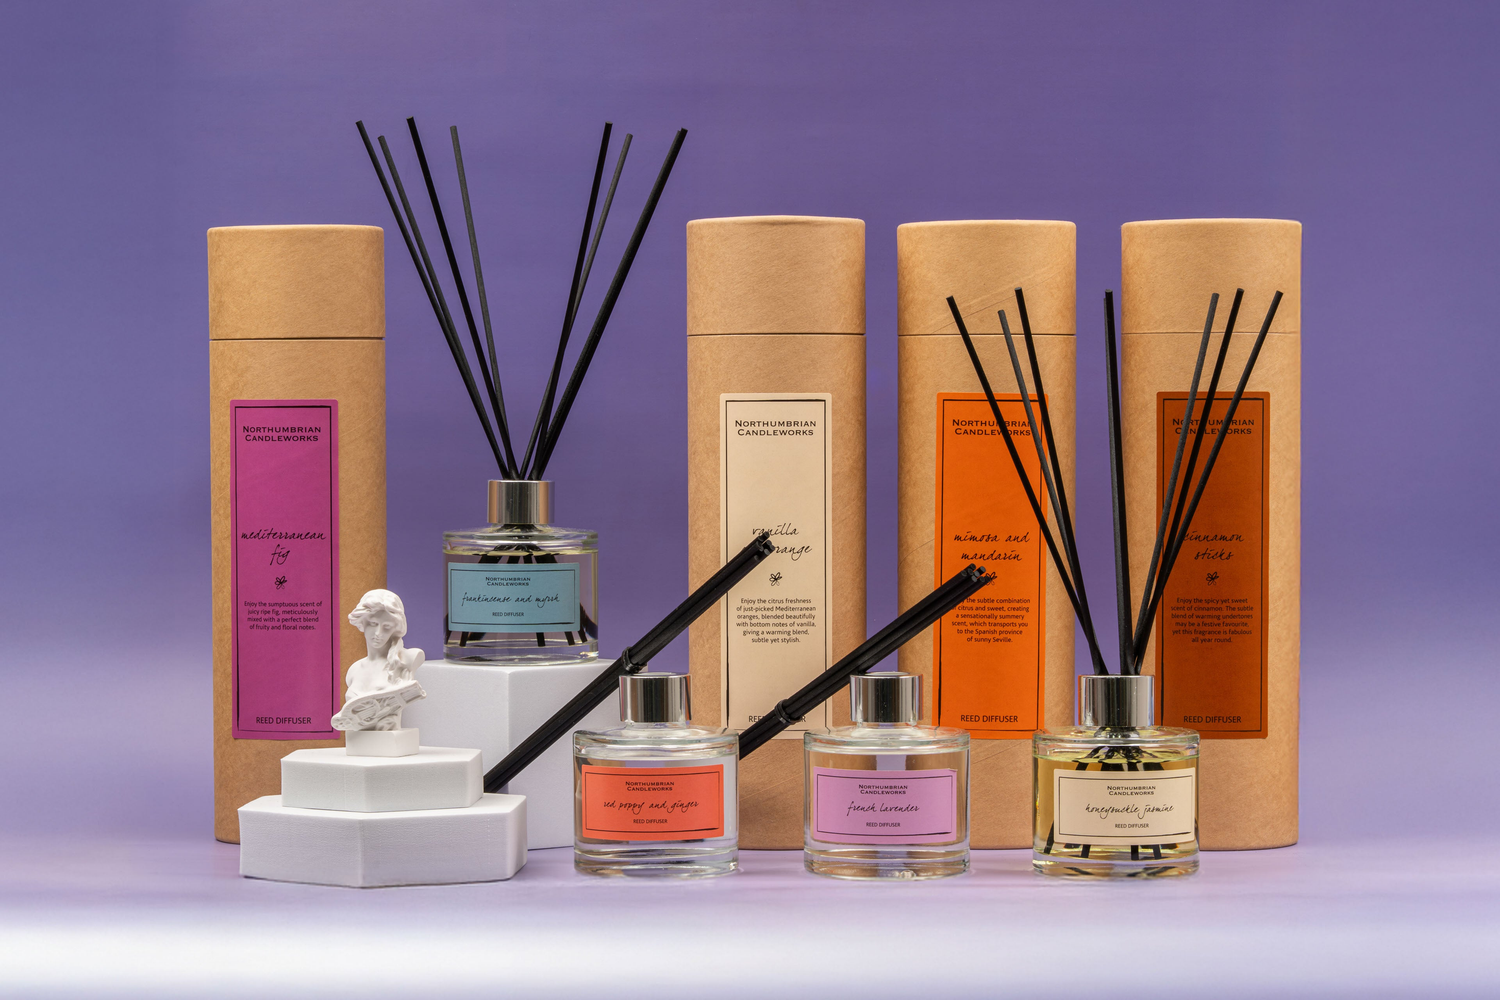
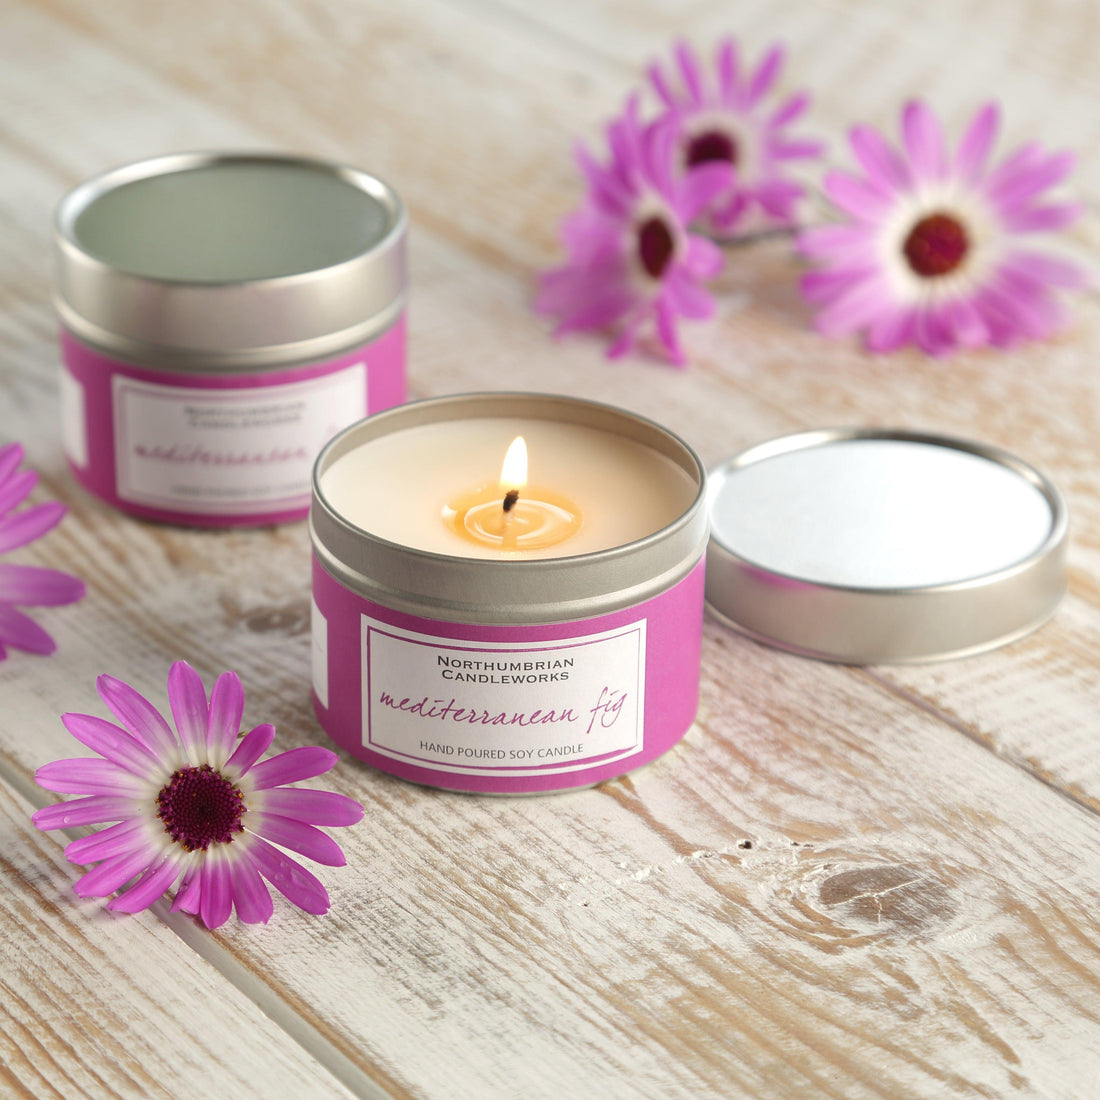
We offer various kits, providing a host of different fragrances, including seasonal spice, cinnamon, Mediterranean fig, strawberries and cream, mimosas and mandarin, and honeysuckle jasmine. There are also dozens of other fragrances you can purchase separately, all inspired by natural flowers, fruits, herbs and spices.
How long do soy candles take to set?
Soy candles tend to take around 24 hours to set, but the wax can cool in as little as two hours.
However, when you add a fragrance to soy candles, you may want to wait up to a month for them to “cure.”
Curing here means something different from what it means in soap-making (where it refers to waiting for moisture to evaporate from the interior of the bar). For candles, it describes the process by which the fragrance chemicals bind with the wax, assisting diffusing when later burned. Curing candles can take up to a month.
What happens if you add too much fragrance to soy wax?
Adding a small amount of wax to a candle is desirable. If, however, you add too much, the structure of the wax will collapse, and you’ll wind up with a frothy mess.
We recommend using less than one part fragrance to every ten parts wax. If you increase fragrance levels higher than this, the wax itself can become flammable.

What temp should I add fragrance to soy wax?
Ideally, you should add fragrance to soy wax about 10-15 degrees above the wax’s melting point.
The melting point of soy wax varies from 49 to 82 C, depending on the blend. If the melting point of your wax is 60 C, then you should add the fragrance at between 70 and 75 C.
Adding the fragrance while the wax is above its melting point gives you plenty of time to stir it in, before pouring it into tins.
Where to buy candle making kits
Candle making kits and supplies are the perfect gifts for people who love DIY. With a luxury candle making kit, they can make beautiful candles and be creative.
The best candle making kits in the UK allow people to indulge their creative passions while breaking down the process into a series of simple steps.
We provide a candle making kit for every type of person. We make the best candle making kits for beginners, including everything on your candle making equipment list you need, including candle making kit instructions. Every pack provides everything you need, including customisable labels.
Click here to view our Candle Making Kits!
Words by Will Hawkins